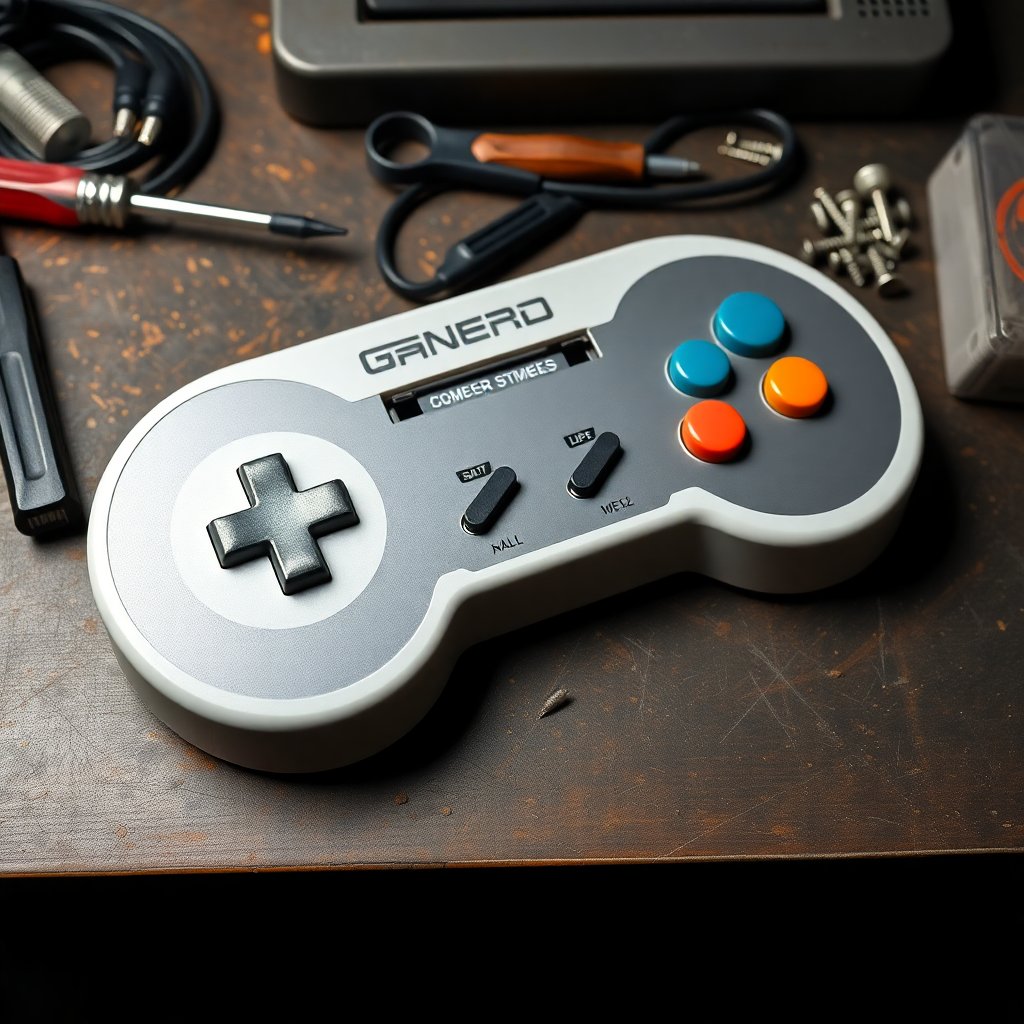
Nothing dates an N64 setup faster than a joystick that flops around like a wet noodle. Pick up almost any controller that has lived a real life since 1996 and you will feel it the moment your thumb lands on the stick: a dead zone the size of a dinner plate, mushy diagonals, and a Mario who wanders when you want him to sprint. The analog stick is the defining weakness of the Nintendo 64 controller, and it is also the most fixable one.
This guide walks through why these sticks wear out, how to tell a tired stick from a broken one, what your replacement paths feel like in the hand, and how to do the swap without wrecking a controller you might want to keep original. Along the way there are honest notes on cost and on what matters if you care about resale value later.
As an Amazon Associate we earn from qualifying purchases. Some links below are affiliate links, which helps keep this site running at no extra cost to you.
Why N64 sticks wear out in the first place
The original N64 stick is not a modern potentiometer design. It uses a gear-and-bowl mechanism: a spinning plastic gear rides against a thumb stick, and optical encoders read the movement. Every time you push the stick, two small gears grind against each other and shed a fine plastic dust. Over hundreds of hours of Mario Kart drifting and Ocarina of Time, those gears literally wear themselves down.
The result is slop. The tighter the gears once meshed, the looser they get as material disappears. This is mechanical wear, not electronics failure, which is good news: the optical sensors almost never die, so a floppy stick is nearly always a rebuild job rather than a scrap controller. Games that demanded hard, repeated rotation were brutal on these parts. Mario Party is the infamous offender, since several minigames had players spinning the stick as fast as possible with their palms.
A useful rule of thumb: if the stick still centers and reads in all directions but feels loose and imprecise, the gears are worn. If it reads nothing in one direction or the button inputs are dead, you may have a cracked solder joint or a damaged ribbon instead, and that is a different repair.
Diagnose before you open anything
Spend five minutes testing before you reach for a screwdriver. Plug the controller in, load a game with a visible calibration behavior, and watch for three things.
Center drift. Let go of the stick and see whether the character keeps moving. A small amount is tolerable on a 30 year old part. Constant drift means heavy wear or dirt in the mechanism.
Range of motion. Push to each corner. A healthy stick hits full tilt in every direction. If diagonals feel clipped or one axis maxes out early, the gear teeth are rounded off.
Deadzone size. Nudge the stick a hair off center. On a fresh mechanism the input registers almost immediately. On a worn one you can move the stick a noticeable distance before anything happens, and that gap is the wear you are feeling.
If all three are bad, it is a classic worn gear box and a prime candidate for replacement. If only buttons or a single direction fail, stop and inspect the board instead, because a new stick will not fix a solder problem.
Your three replacement paths
There is more than one way to bring an N64 stick back to life, and they feel genuinely different. Choose based on how you plan to use and value the controller.
Path 1: OEM-style gear rebuild kits
The purist option. These kits replace the worn plastic gears, the bowl, and sometimes the spring with new parts machined to the original spec. The controller still feels like an N64 controller afterward, with that familiar tension and travel, just tight again. Rebuild kits are inexpensive and preserve the original housing and board completely, which matters if authenticity is the goal. You can find assorted N64 controller replacement joystick kits on Amazon ranging from bare gear sets to full assemblies.
The tradeoff is that you are restoring the original design, worts and all. It will feel correct and tight on day one, and it will slowly wear again over years of heavy play, just like it did the first time. For a display piece or a lightly used collector controller, that is perfectly fine.
Path 2: GameCube-style aftermarket sticks
The performance option. Several makers produce drop-in modules that swap the gear-and-bowl guts for a modern potentiometer stick, often with a GameCube-style thumb cap. These feel tighter, center more reliably, and essentially never wear out the way the originals do. If you actually play a lot of fast-twitch N64, this is the upgrade that transforms the controller. Browse the current GameCube-style N64 joystick mods on Amazon to compare designs and thumb-cap shapes.
The honest caveats: the feel is different from stock, some modules change the throw distance enough that muscle memory needs a day to adjust, and a few budget units have stiff springs. For a daily driver this path is hard to beat. For a sealed collector piece, it changes the character of the controller and can hurt originality.
Path 3: Donor swap
If you have a bin of controllers, you can sometimes rob a good mechanism from a lightly used donor and drop it into a nicer shell. This costs nothing but a controller you already own, though finding a genuinely tight original donor is getting harder every year because they all wore out together. Treat this as a stopgap rather than a real fix.
Tools you actually need
The N64 controller uses tri-wing security screws, not Phillips, and this trips up more first-time repairers than anything else. A standard screwdriver will cam out and strip the heads. Get a proper tri-wing screwdriver for Nintendo consoles on Amazon before you start. Beyond that you want a small Phillips for the internal stick housing, a plastic spudger or guitar pick to separate the shell halves, and a clean workspace with a bowl for the tiny screws.
Cleaning matters too. A lot of sticky, gritty sticks improve dramatically just from a teardown and a wipe-down of the gears and bowl. Keep some high-strength isopropyl alcohol and cotton swabs on hand, and you can grab 99 percent isopropyl alcohol for electronics on Amazon. Avoid heavy grease. The original mechanism runs dry, and adding thick lubricant tends to trap the plastic dust and make things worse over time.
Step-by-step: swapping the stick
The job takes most people around twenty to thirty minutes the first time. Work slowly and keep your screws organized by where they came from.
Open the shell. Remove the tri-wing screws from the back. There are usually several, including ones hidden under the memory pak slot area. Separate the halves gently with a spudger. The two sides are connected by a ribbon and wires, so do not yank them apart.
Free the stick module. The analog stick sits in its own housing in the center prong. Remove the Phillips screws holding that module down and lift it out. Note the orientation of the two gears and the optical disc before anything moves, since a photo on your phone here saves a lot of guesswork.
Replace or rebuild. For a gear kit, swap the worn gears and bowl for the new ones and reassemble the module exactly as it came apart. For a GameCube-style module, disconnect the old assembly and seat the new unit per its instructions, making sure the connector seats fully.
Test before you close. This is the step people skip and regret. Reconnect the controller loosely, plug in, and verify full range, clean centering, and a small deadzone before you screw the shell back together. Catching a reversed gear now beats reopening everything later.
Reassemble. Route the ribbon and wires back cleanly so nothing gets pinched, align the shell halves, and drive the tri-wing screws snug but not overtightened. Plastic bosses in a 30 year old shell strip easily.
For a deeper visual teardown with photos of every internal part, the community repair resource at iFixit's Nintendo 64 Controller page is an excellent free reference and worth reading before your first attempt.
Keep it collectible: originality notes
If a controller is just for play, upgrade it however you like. If it has any collector value, be thoughtful. Gear rebuild kits keep the controller fundamentally original and are generally seen as acceptable maintenance, the same way a fresh capacitor is on vintage audio. GameCube-style modules are a modification, and a strict collector will treat a modded controller as worth less than an untouched one, even if it plays better. Keep the original parts you remove in a labeled bag so the change is reversible.
Grey and black boxed controllers, special colors, and anything with intact original packaging deserve extra restraint. For those, a conservative gear rebuild preserves both the feel and the value. This matters more than people expect once you start chasing the pricier pieces, and it ties directly into how the rest of a Nintendo 64 collection holds value over time. If you are building out the library those controllers will serve, our rundown of the most valuable N64 games to collect and the companion guide to the best N64 games to collect are good places to plan your shelf.
A few realistic expectations
A rebuilt original stick will feel tight and correct, and then it will slowly loosen again over years of hard use, because that is simply how the design works. That is not a failed repair, it is the mechanism doing what it has always done. If you want a stick that stays tight indefinitely, the GameCube-style path is the honest answer, with the understanding that you are trading authenticity for durability.
Either way, the controller itself almost never needs to be scrapped. The shells are tough, the boards are reliable, and the only consumable part is the one your thumb has been grinding down for three decades. While you have it open, it is worth cleaning the contacts and wiping down the shell, and if the plastic has yellowed, our guide to retro console plastic restoration covers how to bring the housing back to life at the same time.
Treated as routine maintenance rather than a scary surgery, an N64 stick swap is one of the most satisfying beginner repairs in retro collecting. You spend a little money and half an hour, and you get back the precise, springy control that made these games feel so good in the first place.
As an Amazon Associate we earn from qualifying purchases. This article contains affiliate links; if you buy through them we may earn a small commission at no additional cost to you.