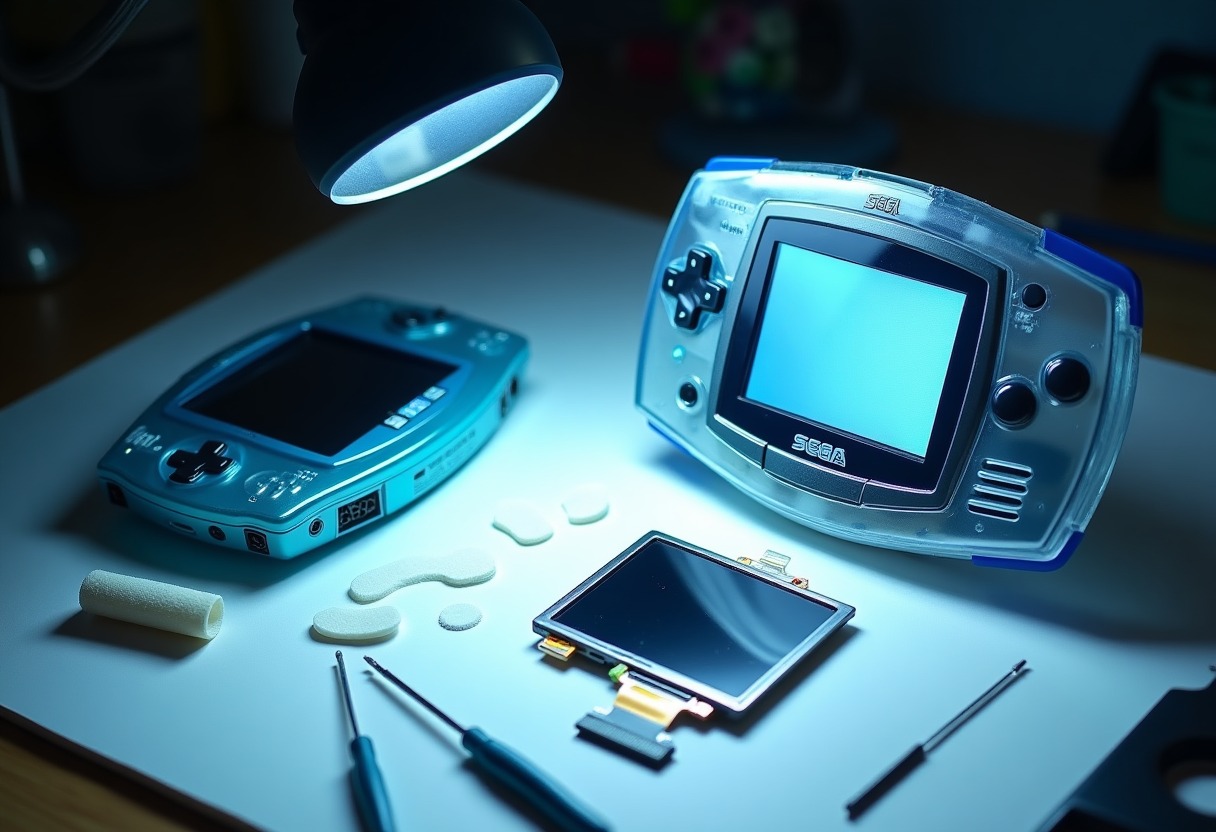
The original Game Gear screen dies in one of two ways: capacitor failure dims the backlight to an unusable murk, or complete failure leaves you with a black rectangle. Modern LCD replacement kits solve both problems with superior image quality, better battery life, and zero risk of capacitor leak—but they permanently alter your console's collectible status.
Why Original Game Gear Screens Fail (And What Modern Replacements Fix)
Sega shipped every Game Gear with a backlit color LCD that required six surface-mount capacitors to regulate voltage. These capacitors, as documented in service manuals from the early 1990s, degrade predictably within 25-30 years. The backlight dims first—games become barely visible except in direct sunlight. Complete failure follows when leaking electrolyte corrodes adjacent traces on the mainboard.
The original screen consumed 1.2-1.5 watts continuously. Battery life topped out at 3-5 hours with fresh alkaline AAs, making the Game Gear a notorious power drain even when new. Modern IPS LCD kits draw 0.4-0.6 watts while delivering objectively superior image quality: full RGB color range, zero ghosting, and brightness controls that actually work.
If you've already completed a capacitor replacement and your screen still looks dim or washed out, the LCD panel itself has degraded beyond repair. No amount of capacitor work fixes a failing LCD—replacement becomes your only option for a functional display.
Original Display Quality vs Modern LCD Specifications
The stock Game Gear screen measures 3.2 inches diagonal with a resolution of 160×144 pixels. It uses passive-matrix STN (Super Twisted Nematic) technology with a six-LED fluorescent backlight. Colors appear muted compared to modern displays—intentional, since game developers calibrated artwork for this specific panel. Blues lean purple, reds appear orange-shifted, and the entire image sits behind a thick plastic lens with noticeable refraction.
Modern replacement kits use active-matrix IPS panels with the same 160×144 resolution but vastly different color reproduction. The → Shop Game Gear replacement screens on Amazon deliver 16.7 million colors versus the original's approximate 4,096-color palette. This creates immediate visual differences:
Sonic Triple Trouble displays blues that actually match Sonic's modern branding—vivid and saturated—instead of the original's softer teal. Shinobi shows deeper blacks in shadow areas where the original screen produced dark gray. Mortal Kombat II blood appears bright red rather than dark maroon.
Whether these changes constitute "better" depends entirely on your priorities. The modern LCD objectively produces more accurate colors by contemporary standards. The original screen displays colors exactly as developers saw them during production. Neither is wrong—they're fundamentally different reference points.
Installation Difficulty and Required Modifications
Replacing a Game Gear screen requires moderate soldering skill and permanent case modification. Every modern kit demands trimming the internal plastic screen mounting frame—you cannot install an IPS panel without cutting. This alone disqualifies the modification for collectors prioritizing originality.
The installation process breaks down into five steps:
Screen removal: Desolder the original LCD ribbon cable from the mainboard. This requires a fine-tip soldering iron and solder wick to clean the pads. The ribbon cable is fragile—excessive heat destroys it instantly, though you're removing it permanently anyway.
Frame modification: Use flush cutters to remove plastic supports inside the front shell. Modern kits include templates, but you're essentially carving out space for the new driver board. Too much material removal weakens the shell; too little prevents the screen from sitting flush.
Ribbon cable routing: The replacement screen uses a different cable path than the original. Most kits route the cable through the cartridge slot opening, requiring careful measurement to avoid pinching when reassembling.
Driver board mounting: Double-sided foam tape secures the control board—usually positioned where the original screen's PCB mounted. Board placement affects whether the brightness controls align with the existing shell vents or require drilling new access holes.
Testing before final assembly: Power on the system with the shell open to verify image quality and adjust brightness. Reassembly without testing leads to complete disassembly if something's wrong.
The → Shop Game Gear LCD upgrade kits on Amazon include printed instructions, but video walkthroughs prove essential. Budget 2-3 hours for your first installation, 45-60 minutes once you've done three or more.
Screen Replacement Impact on Collectible Value
A Game Gear with a modern LCD screen is a modified console, not an original-condition collectible. This distinction matters significantly in the current market.
| Console Condition | Average Resale Value | Buyer Pool | Documentation Required | |----------------------|-------------------------|----------------|---------------------------| | Original screen, working perfectly (recap only) | $120-180 | Collectors, players, investors | Capacitor replacement receipt, photos of work | | Original screen, dim/failing | $40-70 | Parts buyers, DIY restorers | Honest condition description | | Modern LCD, professional install | $130-160 | Players, casual collectors | Screen model, installation quality proof | | Modern LCD, poor install (visible gaps, scratches) | $80-110 | Parts buyers | Full disclosure of issues |
The working original-screen console commands a premium because it's increasingly rare—most functional Game Gears today exist because someone already performed the capacitor replacement. A properly restored original screen represents preservation work that maintains collectible integrity.
Modern LCD installs appeal to a different buyer: someone who wants to actually play their Game Gear library without worrying about screen failure. These consoles sell reliably but rarely exceed the price of properly restored original units. The modification ceiling exists because serious collectors view screen swaps the same way they view reproduction cartridge shells—functional but not original.
The exception: consoles with irreparably damaged original screens. If the LCD panel itself has failed completely, a modern replacement actually preserves value better than leaving the console non-functional. A working modified console beats a dead original.
Modern LCD Kit Options: What To Buy
Three screen types dominate the current market, each with distinct trade-offs.
McWill LCD kit: The first widely available Game Gear LCD replacement, this kit uses a 3.5-inch panel with custom driver boards. Installation requires the most case modification but delivers the sharpest image. Color accuracy skews slightly cool—blues appear more saturated than original hardware. The kit includes brightness controls and VGA output for external displays. Price runs $70-90 depending on supplier.
RetroKai IPS kit: Uses a 3.2-inch IPS panel that matches the original screen size more closely. Less case trimming required than McWill, making it slightly easier for first-time modders. Color temperature runs neutral with adjustable settings via button controls. Includes scanline simulation modes that mimic CRT displays—purists appreciate this option. The → Shop Game Gear screen mod kits on Amazon average $60-75.
BennVenn Airetro kit: Newest option, featuring the smallest driver board and cleanest internal fit. Supports pixel-perfect scaling with no visible interpolation. Color reproduction leans warm, closer to original screen character than other options. Installation still requires case modification but minimal plastic removal. Brightness adjustment uses a capacitive touch sensor rather than physical buttons. Runs $55-70 depending on availability.
All three kits work with both NTSC and PAL Game Gear models. Battery life improves by 40-60% regardless of which screen you choose—the power savings come from eliminating the fluorescent backlight, not the specific LCD technology.
For collectors maintaining multiple Game Gears, consider installing modern screens in common models (standard black units) while preserving rare variants (blue sports edition, red Coca-Cola model) with original displays. This strategy balances playability with investment protection.
What Most Guides Miss: Screen Calibration and Color Profiles
Every modern LCD kit includes brightness controls, but few installers adjust color temperature or gamma settings. The driver boards support these adjustments—you just need to access the configuration menu.
Most kits use two-button or three-button control schemes hidden inside the shell. The standard sequence: hold both buttons during power-on to enter setup mode. Navigate with short presses, confirm with long presses. The menus adjust:
Color temperature: Shift the overall image warmer (more red/yellow) or cooler (more blue). Set this based on your most-played games. Sonic titles look correct at 6500K. RPGs like Shining Force often benefit from 7000K for better text contrast.
Gamma correction: Controls the relationship between input voltage and displayed brightness. Lower gamma (1.8-2.0) produces more visible detail in dark areas but washes out highlights. Higher gamma (2.4-2.6) increases contrast but crushes shadow detail.
Scanline intensity: If your kit supports scanline simulation, adjust the darkness and spacing. Set too dark and the image dims significantly. Too light and the effect disappears. Most users find 30-40% intensity produces convincing CRT simulation without sacrificing brightness.
Pixel scaling: Some kits offer integer scaling modes that add black borders to maintain perfect pixel aspect ratios. This eliminates the slight stretch that full-screen modes introduce but reduces the active display area.
Write down your final settings before closing the shell. You'll likely want to adjust them again, and accessing the controls requires partial disassembly on most installations.
FAQ
Does replacing the Game Gear screen void collectible value permanently?
Yes, in the eyes of serious collectors who prioritize originality. A modified console always sells for less than an equivalent original-screen unit in similar condition. However, a screen-modded Game Gear typically exceeds the value of a non-functional original, making the modification financially neutral if your screen is already dead.
Can I reverse a screen replacement and restore the original display?
Technically yes, but not practically. You'd need an original working screen (rare and expensive), plus the installation requires cutting the internal frame—damage that remains even if you reinstall original parts. The console will never return to true original condition once modified.
Which screen replacement offers the most accurate color reproduction?
None perfectly match the original because the underlying technology differs fundamentally. The BennVenn Airetro runs warmest and closest to original character, while McWill skews coolest with more saturated colors. RetroKai falls between them with the most adjustability, making it the best choice if you want to dial in specific color preferences.
How does screen replacement affect battery life compared to a recapped original?
Modern LCD screens draw 40-60% less power than the original backlit display. Real-world testing shows 7-9 hours on fresh AAs with an IPS screen versus 4-5 hours with a recapped original screen. This advantage compounds when using rechargeable NiMH batteries, which benefit from the lower sustained current draw.
Should I replace the screen myself or pay for professional installation?
If you've successfully completed other handheld mods (like Game Boy Color battery replacement or similar work), you can handle a Game Gear screen swap with patience and proper tools. First-time modders should practice case trimming on a parts console before attempting the modification on a working unit. Professional installation runs $80-120 plus the screen kit cost—worth it for rare console variants or if you're uncertain about your soldering skills.
The Game Gear screen replacement decision ultimately depends on whether you value originality or playability more—both positions are valid, but mixing them on the same console doesn't work.
Some links on this page are affiliate links. We may earn a small commission if you purchase through them, at no extra cost to you.
As an Amazon Associate we earn from qualifying purchases. This article contains affiliate links; if you buy through them we may earn a small commission at no additional cost to you.