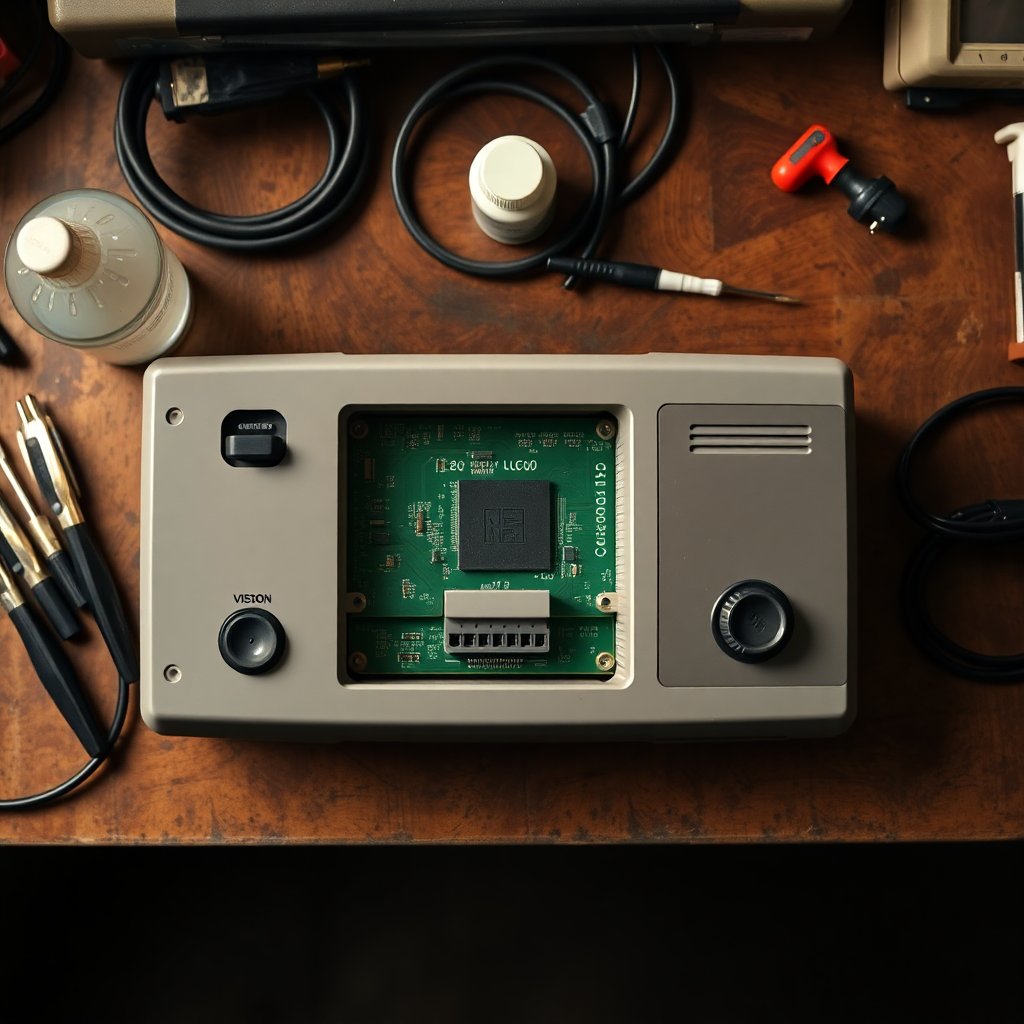
Few sights are more familiar to anyone who grew up with a Nintendo Entertainment System than a gray screen and a power light flashing on and off like a turn signal. The blinking red light is so common that it became a cultural joke, complete with the ritual of blowing into cartridges. The good news is that it is almost always fixable, usually for very little money, and often without a soldering iron.
This guide explains what is really happening when an NES blinks, then walks through the fixes in the order you should try them, from a five-minute cleaning to a full 72-pin connector swap.
Affiliate disclosure: As an Amazon Associate we earn from qualifying purchases. Some links in this guide are affiliate links, which never change what we recommend or what you pay.
What Causes the Blinking Red Light
The original front-loading NES, model NES-001, contains a lockout chip that Nintendo called the CIC (the 10NES system). Every licensed cartridge contains a matching chip. When you power on, the console's CIC tries to talk to the cartridge's CIC. If the handshake succeeds, the game boots. If it fails, the console chip holds the system in reset, and then tries again roughly once per second. That repeated reset is the blink you see.
The key insight is that the CIC handshake rarely fails because a chip is broken. It fails because the electrical connection between the cartridge and the console is poor. Dirt, oxidation, and worn spring contacts in the console mean the signals never arrive cleanly. The NESdev community wiki has an excellent technical breakdown of the CIC lockout chip if you want the deep details.
Why the Front Loader Is So Prone to It
The NES-001 uses a zero insertion force design. You slide the cartridge in, then push it down, and the cartridge edge is clamped against a 72-pin connector by spring tension. Over decades, those spring pins lose tension and get bent from repeated insertion. The redesigned top loader, NES-101, uses a direct vertical connector and has no CIC chip at all, which is one reason it rarely suffers from blinking.
The Truth About Blowing Into Cartridges
Blowing into a cartridge seemed to work because reseating the cartridge slightly changed which part of the contacts touched. The moisture in your breath, however, encourages corrosion on the contacts over time. If you have a collection of cartridges that were blown into for years, expect to see dark tarnish on the pins. Stop blowing and clean instead.
What You Need
You do not need much for the first two fixes:
- High-concentration isopropyl alcohol, ideally 90 percent or higher, so it evaporates quickly and leaves little residue.
- Cotton swabs or foam swabs, plus lint-free cloths.
- A 3.8mm security bit to open NES cartridges and a 4.5mm security bit for Super Nintendo and other systems.
- A Phillips screwdriver to open the console.
- A replacement 72-pin connector if cleaning does not solve the problem.
→ Shop 3.8mm and 4.5mm security bits for Nintendo on Amazon
Fix 1: Clean the Cartridge Contacts
Start with the games, since dirty cartridges are the most common culprit and the easiest to fix.
- Inspect the contacts. Look at the exposed edge connector at the bottom of the cartridge. Clean contacts are bright gold. Dull, brown, or black areas mean oxidation or grime.
- Swab with alcohol. Dip a swab in isopropyl alcohol, squeeze out the excess, and scrub both sides of the edge connector. Repeat with fresh swabs until they come away clean. The first swab on a neglected cartridge is often startlingly black.
- Let it dry fully for a few minutes before inserting.
For stubborn oxidation, open the cartridge with a 3.8mm bit and clean the board directly. Some restorers use a white plastic eraser gently on the contacts, though this is mildly abrasive and should be used sparingly, followed by a swab to remove debris. Avoid metal polishes and anything gritty, which can strip the thin gold plating.
While the shell is open, it is a good time to check the label and shell condition. If the shell is cracked or yellowed, our guides to NES cartridge shell replacement and retro console plastic restoration cover what to do next.
→ Shop 99 percent isopropyl alcohol and foam swabs on Amazon
Fix 2: Clean the Console's 72-Pin Connector
If several known-clean cartridges still blink, turn to the console.
Light Cleaning Without Disassembly
A cartridge-shaped cleaning kit, or an old sacrificial cartridge board wrapped in a lint-free cloth dampened with alcohol, can be inserted and worked in and out a few times to clean the connector pins. This helps with light grime but cannot fix bent or tired pins.
Full Cleaning With the Connector Removed
For a proper job, open the console. Remove the six screws on the bottom, lift the top shell, then remove the screws holding the RF shield and the cartridge tray assembly. The 72-pin connector slides off the edge of the motherboard. Once removed, you can clean both rows of pins thoroughly with alcohol and a small brush, and inspect them for bending and corrosion.
Take photos at every step. The tray and connector go back together in a specific order, and a picture is far easier to follow than memory.
Fix 3: Re-Tension or Replace the 72-Pin Connector
When the pins are clean but the problem persists, the springs have likely lost tension.
The Boiling Method
You will find many guides recommending boiling the original connector in water to restore pin tension. It can give a temporary improvement for some connectors, but results vary widely, and the connector must be completely dry before reinstallation to avoid shorting or new corrosion. We consider it a last resort for a connector you would otherwise throw away, not a permanent repair.
Replacing the Connector
A new 72-pin connector is inexpensive and is the most reliable fix for a blinking NES with good cartridges. Installation is a simple swap: slide the old connector off the motherboard, slide the new one on, and reassemble.
One caveat worth knowing: some aftermarket connectors are very tight out of the box, which can make inserting and pressing down cartridges stiff and may wear the cartridge contacts faster. Quality varies by manufacturer. Look for well-reviewed connectors and, if a new one feels extremely tight, work a cartridge in and out several times to break it in gently. Some collectors prefer to pay more for a remanufactured connector with new pins in an original housing.
→ Shop NES 72-pin replacement connectors on Amazon
Pin-Replacement Kits
A middle path is a pin replacement kit that installs new spring contacts into your original connector housing. This takes more patience but keeps the original part and generally offers smoother insertion than a tight aftermarket connector.
Fix 4: Disable the CIC Chip
If you have tried everything above and still see occasional blinking, or you want to play unlicensed and region-different games, you can disable the console's lockout chip. On the NES-001, this is traditionally done by lifting or cutting pin 4 of the console's CIC chip so it no longer holds the system in reset.
This is a permanent modification that requires care and basic soldering comfort. It does not fix bad contacts. A disabled CIC with a dirty connector will no longer blink, but it can still show garbled graphics or a frozen screen. Fix your connection first, then consider the CIC mod as a bonus.
Collectors should also weigh value. A cleanly modified console is usually fine for a player system, but a boxed, unmodified NES with all its original parts may appeal more to purists.
Troubleshooting Table
| Symptom | Likely Cause | First Fix | |---|---|---| | Blinking with one game only | Dirty or oxidized cartridge | Clean cartridge contacts | | Blinking with every game | Console connector dirty or worn | Clean, then replace 72-pin | | Boots but garbled graphics | Poor contact on some pins | Clean both sides, reseat | | Gray screen, solid red light | Bad contact or failed cartridge | Clean, test another game | | No power light at all | Power supply or switch | Test with known-good adapter |
Keeping It Fixed
Once your NES is working, a few habits keep it that way:
- Store cartridges in dust sleeves or boxes, upright and away from humidity. Our guide on storing a retro collection long term covers climate and storage materials.
- Clean new pickups before inserting them. Every untested flea market cartridge goes through a swab first, so you are not transferring grime into your connector.
- Do not press the tray down with excessive force. It should click gently into place.
- Never blow into games or the console. Use alcohol and swabs instead.
Should You Buy an NES That Blinks?
From a collector's perspective, a blinking NES is often a bargain. Sellers frequently discount a front loader listed as "blinking" or "for parts," when the fix is a cleaning or a low-cost connector. Before buying, check that the shell is not cracked, the tray mechanism springs work, and the power supply and controller ports are intact. Those parts cost more to fix than the connector.
The Bottom Line
The NES blinking red light is not a mysterious curse. It is a lockout chip doing exactly what it was designed to do when it cannot read a cartridge clearly. Clean your games first, clean the console connector second, and replace the 72-pin connector when the springs are tired. Save the CIC mod for after the connection is solid. Follow that order, and most front loaders will boot on the first try again, no blowing required.
As an Amazon Associate we earn from qualifying purchases. This article contains affiliate links; if you buy through them we may earn a small commission at no additional cost to you.